A Guide to 3D Modeling for 3D Printing to get a successful first 3d print
:A Guide to 3D Modeling for 3D Printing to get a successful first 3d print
This sounds cliché, I know, but 3D printing is a game changer, and it has the power to disrupt the world as we know it. However many people have yet to take the plunge into the world of 3D printing.
If that's you, and you want to create your first 3D printed item but you're wondering where to start, this article should give you some basic guidelines. It's divided into three parts: what you need to do before, during, and after 3D printing.
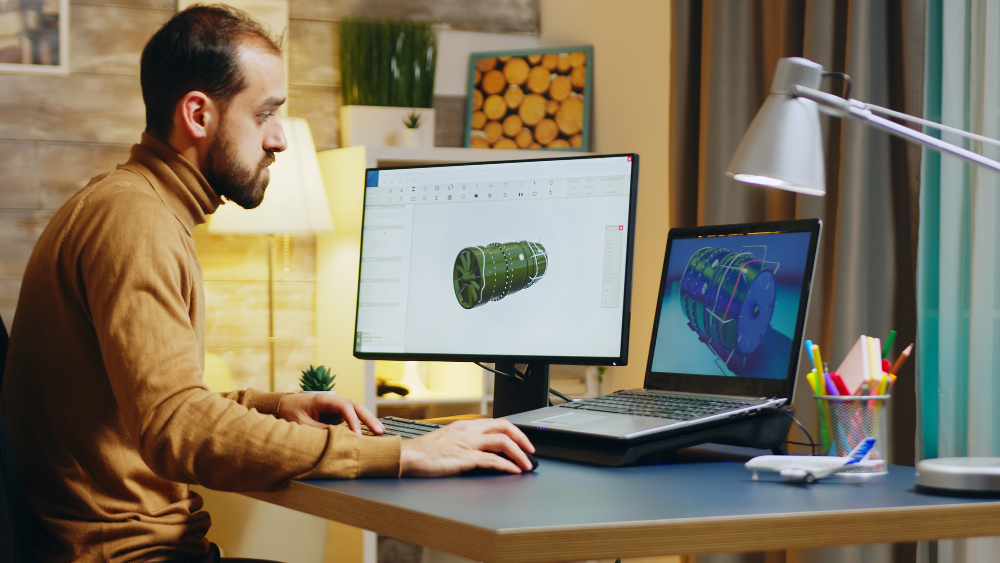
The first step of creating any product is to design it. There are many design software options available on the market, but if you want a good starting point, check out Tinkercad. Not only can you use a design that's already been started, but it fully integrates a 3DPrinterOS, so printing your design is a breeze. More on that later!
Once you're in Tinkercad or your other design software, you need to design your model. Plan it out, adding details and features to your model. Again, in Tinkercad, you can use someone else’s design and just edit it for your own version. This will help you build both your skills and your confidence. We would recommend for your first 3D print project to keep it simple – there will be time later for complex geometries and spectacular lattice designs!
You then export it as an STL file. This is the standard file format for 3D printing and is how your 3D printer understands where it's supposed to print.
If you are using Tinkercad, this is particularly easy for you, as it is just a few clicks to send it to your 3DPrinterOS dashboard. No USB stick or SD card required!
In Tinkercad you'll see three buttons: “Import”, “Export”, and “Send to”. Hit the “Export” button, and a window will open. By default, it's open to “Download”, but the other option in that window is “3D print”. Click on that, and scroll down to “3DPrinterOS”.
The final step of your pre-processing is to optimize your design. For within 3DPrinterOS, click on your design and your model will load. Click slice, and you'll see options for changing the layer thickness, the shell thickness, the infill, and many more. To get a preview of how it will build, click “Slice and toolpath preview”. If you click the animation button, you can see layer by layer how it will develop while printing. You'll also see how much filament it will use, and an estimated print time.
Of course, you'll want to consider the right orientation for 3D printing. The build orientation plays a vital role in the outcome of your 3D printing effort. It impacts the mechanical properties and surface texture of your model and the need for support.
For example, consider a T-shaped object. It can be printed in three different orientations. Each orientation needs a separate support structure. If you print it the way a standard letter T is shaped, the overhangs on either side of the center column will need support. If you rotate at 90° there will only be one overhang that needs support, but if you rotate it a further 90°, so that it's an upside-down T, there will be no support needed.
3DPrinterOS has settings that will likely do well for your first print, but as you get more experience you may want or need to adjust some of the parameters.
Layer height, also known as print resolution, is the thickness of each layer in your model. Thick layers lead to a lower quality print but reduce build time, whereas thin layers result in a very fine print but will take longer.
Print speed is another consideration. It can be impacted by not only the print speed setting but by the jerk settings and layer heights too.
Finally, with all the settings and slicing complete, choose your 3D printer from the drop-down menu. Hit print, and enjoy the live view from within 3DPrinterOS! Fascinating!
The final step is post-processing and refining the print.
3D printed models use support structures to create overhang details. Since these supports are not an original part of the model, now is the time to remove them. Remember it could be hot for a few minutes. Some of our clients have glove boxes available for this step.
Finally, it's worth it to analyze your success or failure and make changes to your print file as necessary. We're always adding more to our knowledge base, and you can learn to avoid common mistakes such as spaghetti or tangled filament.
Happy 3D printing! We hope this is the 1st of many successful 3D prints to come!


Learn more about 3DPrinterOS - the most trusted 3D printing management software for Higher Education, Enterprises and OEMs. Fill out this form to get in touch with our experts.

Manage the workflow and permissions for your users

Share files and 3D printers to groups of users

Control your 3D printer fleet through a browser

Cloud slicer and toolpath viewer
Book your personalized assessment now and get your free trial.


