How to use a 3D Printing Slicer Software ?
Explore the world of 3D printing slicer software in our latest blog post. Discover key considerations for seamless printing results. Dive into the future of 3D printing!
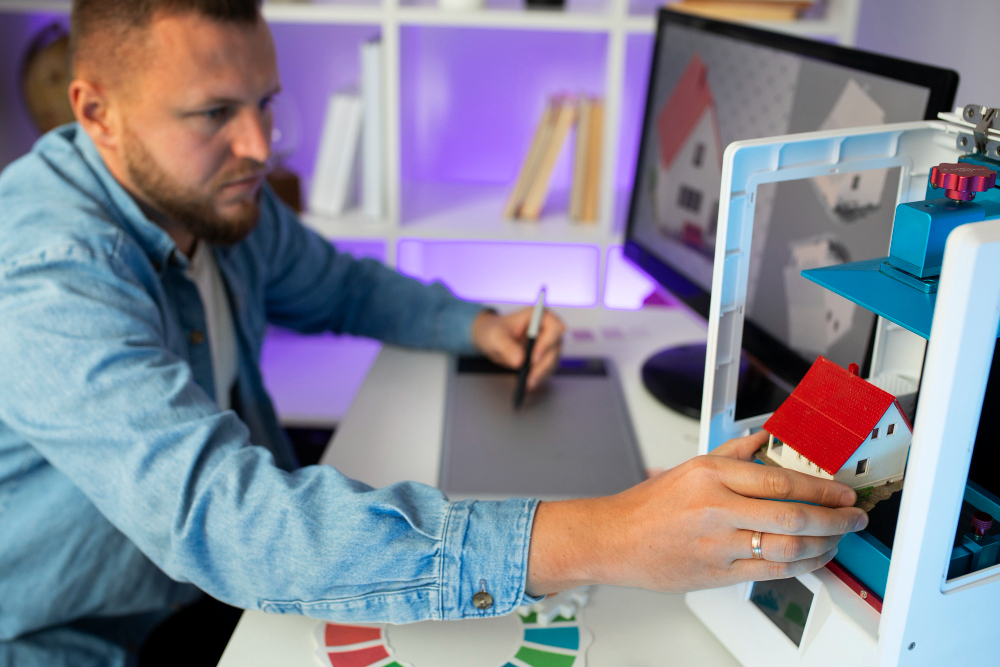
When you're new to 3D printing, finding the right 3D slicing software can be a challenge. How do you know which one is best? What should you know about 3D printing software as you're researching which one to use?
Well, many factors enter into user experience, which really determine if a particular 3D printing slicer software can be considered either good or bad. You want to know that there are regular updates. You want to know it integrates with other software and tools.
But if we're going to narrow it down to just the top 3 features that are generally considered most important in 3D printing slicer software, they are as follows.
Let's take a look at these in more depth.
If you're new to 3D printing, it may be hard to envision how your software can affect your print quality. Isn't it the 3D printer itself that's going to determine print quality? Or maybe the experience level of the person doing the 3D printing?
But taken together, the print quality - and reliability - is the most important feature of good slicing software. Slicing software must consistently produce high-quality prints with smooth finishes, the right dimensions, and the required strength. The slicer is what will handle things like the layer height, infill patterns, and support structures. It needs to be reliable enough that users know it will perform well over and over again, regardless of how many projects or how varied the materials.
And a good slicing software has to be easy to use. It needs to have an intuitive user interface. Beginners should find it easy to get started; it should have presets and easy-to-understand options that are nearly self-explanatory.
And then in the best 3D slicers you'll find some advanced features and functionality. Advanced users should have access to detailed settings for fine-tuning prints. Some features you'll find in a good 3D slicer software are support generation, layer previews, and specialized infill patterns.
You want to be able to modify print settings at specific layers or areas; this is called toolpath manipulation. Of course this isn't necessary when you're first learning to 3D print, but as you progress you'll find you can pinpoint certain areas of your design where you want specific weight or strength.
And with the basics covered off, of what to look for in a slicer, let's get a little deeper into just how STL and g-code relate to each other via the slicer.
When you create a digital design, it is saved as an STL file. This STL file shows what the finished item is supposed to look like in terms of geometry. It shows a 3D shape but without any information on color, texture, or the actual material to be used.
To turn that design into a 3D printed object, instructions must be written that the 3D printer can follow. This is the g-code.
The point of the slicer, then, is to take your design from STL to g-code. The slicing software acts as the middleman between your digital 3D model, and the 3D printer.
It digitally cuts your model into very thin horizontal layers. These layers are what the 3D printer will print, one at a time.
Then it converts these layers into a set of instructions in g-code, which is the language the 3D printer will understand. These instructions tell the printer exactly where to move, how fast, and where to lay the printing material for each layer.
There are many parameters you can adjust, such as the thickness of each layer, how fast the printer should run, how hot it should be, and how much infill there should be. This last one determines how solid or hollow the object will be inside.
The slicer will also add support if necessary, in places where overhangs or bridges would otherwise collapse. You'll need to remove these supports after 3D printing your object - this is part of post-processing.
And your slicing software lets you preview the print before printing it. You can check that your model is oriented the right way. You can add more support, or change the settings mentioned above.
So that's a very quick overview of the basics of turning an STL file into g-code, so your 3D printer can get started.
Take a look at 3DPrinterOS 3D printing software, and check out how it can help you with your 3D printing journey.


Learn more about 3DPrinterOS - the most trusted 3D printing management software for Higher Education, Enterprises and OEMs. Fill out this form to get in touch with our experts.

Manage the workflow and permissions for your users

Share files and 3D printers to groups of users

Control your 3D printer fleet through a browser

Cloud slicer and toolpath viewer
Book your personalized assessment now and get your free trial.


